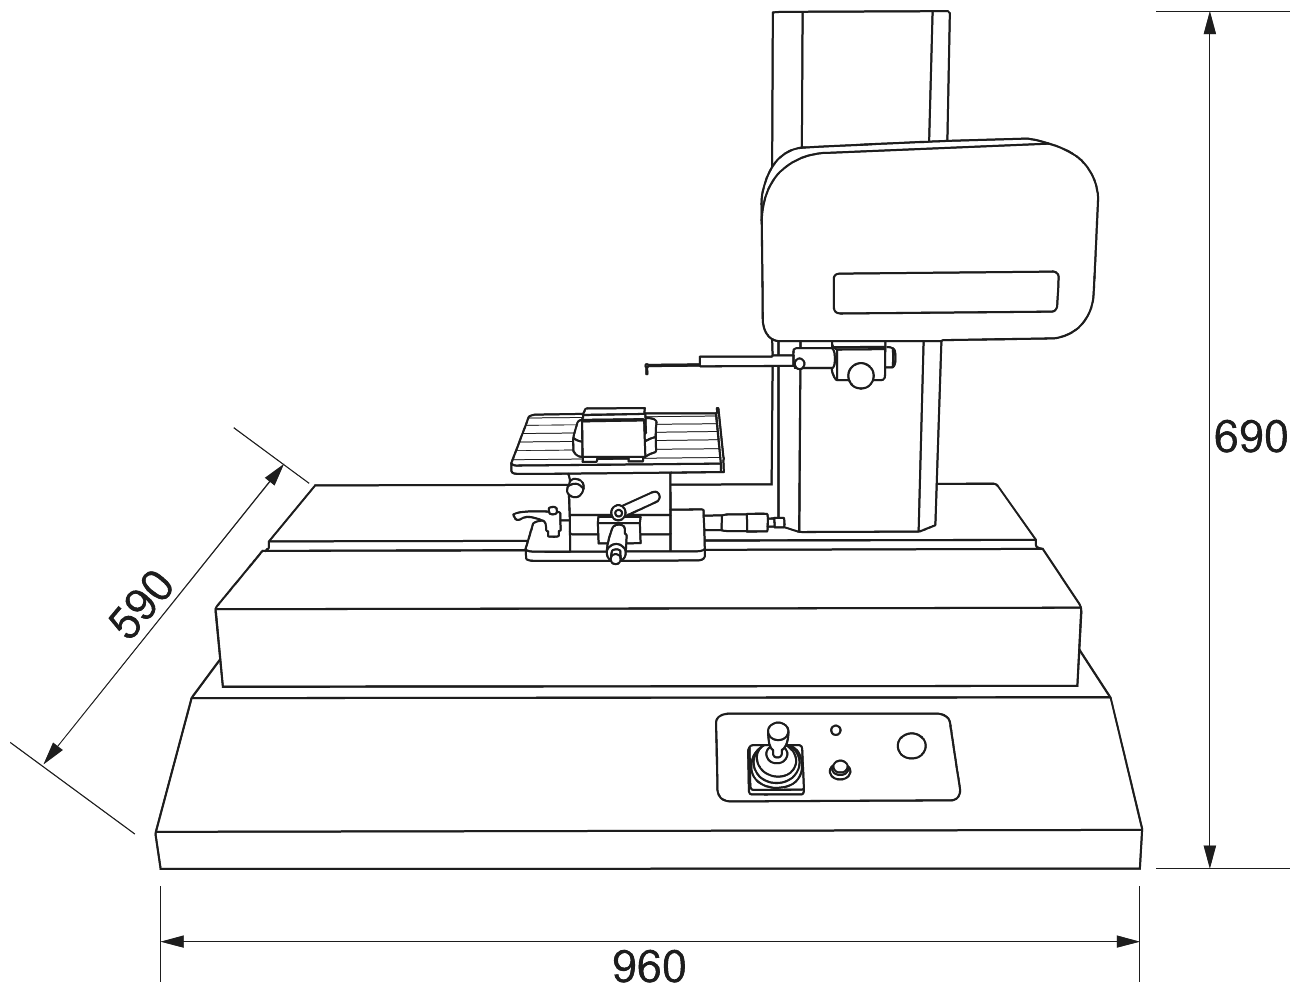
Laboratory roughness tester ALPA LA350
Characteristics- Face Test 120 was conceived from the need to characterise roughness and micro-profiles on pieces, even complex ones, using one device, thanks to the Face Test 120 “all-in-one” logic and Profile Studio analysis software. Profile Studio software was developed to be extremely user friendly and easy to use by the operator; all functions required for the characterization of the profile and roughness are available in the right-sided toolbar and divided into categories each one with a different colour. New dimensions and roughness analyses can be input on the same profile and displayed on the same screen, in order to allow the operator to carry out a complete analysis of the piece, with one single measurement. Thanks to the self-comparing function, it is possible to reconstruct all dimensions and dimensional tolerances of a reference profile on a new profile, thus saving a considerable amount of time for the check in series.
Description
PARAMETERS:
ISO 4287:09
Rp, Rt, Rv, Rc, Rz, Rzjis, Ra, Ra75, RSm, RΔq, Rsk, Rku, Rδc, RPc, RmrRel Wp, Wt, Wv, Wc, Wz, Wa, Wq, WSm, WΔq, Wsk, Wku, Wδc, WPc, WmrRel Pp, Pt, Pv, Pc, Pz, Pa, Pq, PΔSm, Pq, Psk, Pku, Pδc, PPc, PmeRel
ISO 13565:96
Rk, Rpk, Rvk, Mr1, Mr2, A1, A2
DIN 4768:90
Ry5, Rmax, R3z, R3zMax, PtDIN
ISO12085:98
Pt, R, AR, Rx, Wte, W, AW, Wx, Rke, Rpke, Rvke
VDA 2007
WD, WDc, WDt, WDSm
Properties
- Measuring range X: 0,15 mm - 120 mm
- Measuring range Z: 3 mm o 5 mm
- Resolution X: 0,1 µm
- Resolution Z: 0,1 nm
- Measuring speed: 0,25 - 0,5 - 1 - 2 mm/s
- Column length: 320 mm
- ON/OFF: ?
- Zero: ?
- ABS: ?
- Preset: ?
- Sleep: ?
Variations
Code
Description
LA350LAB
Description
Laboratory roughness tester
50
Request information
Fill in the fields below to get information about this product


